Using Android Without a Google Account in 2026
This post was last edited 1 month ago.
One of my most-read articles is Using Android Without a Google Account. I recently had to set up Android from scratch on a Pixel 5 for one of my kids, and thought I'd use the opportunity to write an updated version for 2026.
To be clear: this is not a de-Googled phone. While it's possible to disable Google Services (in the Apps settings menu), doing so leads to constant warning notifications, making the phone practically unusable. Having said that, I find that using this method does open your eyes to just how much personal information is sent to Google when setting up your phone with a Google account and using the default installation.
My main method for achieving a "Google-reduced" Android system is to disable or hide all Google apps, and replace these with open source alternatives.1 If you have subscriptions or use paid-for apps from the Play Store, this method may not work for you. See the section on Play Store at the bottom of the article for a solution.
My specific purpose was to set up a phone for a child that:
- minimises reliance on Google apps and the Play Store, thereby reducing the breadth of information shared that's tied to a Google account
- introduces good open source alternative applications
- has a clean, child-friendly interface
While I write here as a parent, this setup will work for any adult user as well. More advanced users may want to look into custom ROMs options and GrapheneOS for better privacy.
Initial setup (after a factory reset)
Please note: doing a factory reset will wipe all your personal data. Make sure to back up contacts, images, etc. before you do this. You may also lose conversation history in messenger apps like WhatsApp and Signal.
After factory-resetting your phone, or when first starting up your phone after purchase, you'll be taken through a number of steps to set it up. The underlying purpose of this process is to tie your device and all your activity on it to a personal Google account. Luckily, there is a way around this.
You'll be prompted to log into your Wi-Fi network, which I would recommend doing at this point. From here on, our aim is to 'skip' or say 'no thanks' to almost every question that follows.
First and foremost, you'll want to skip signing in with your Gmail account. After that, I leave 'use location' on, but toggle the other options (scanning and sending usage and diagnostic data) to the OFF setting.
If you are setting up a phone for a child, I recommending selecting 'Screen lock options' when prompted for a PIN code, and select a simple pattern instead. In my experience, children find patterns easier to remember than numbers.
I skip the finger printing option, and in the next step I deselect 'All of the following apps' when prompted to 'Review additional apps', such as Google Docs, News, Wallet, etc. If you are going through this process without a Wi-Fi connection, all of these apps will be installed by default at a later stage, meaning more work disabling these again later.
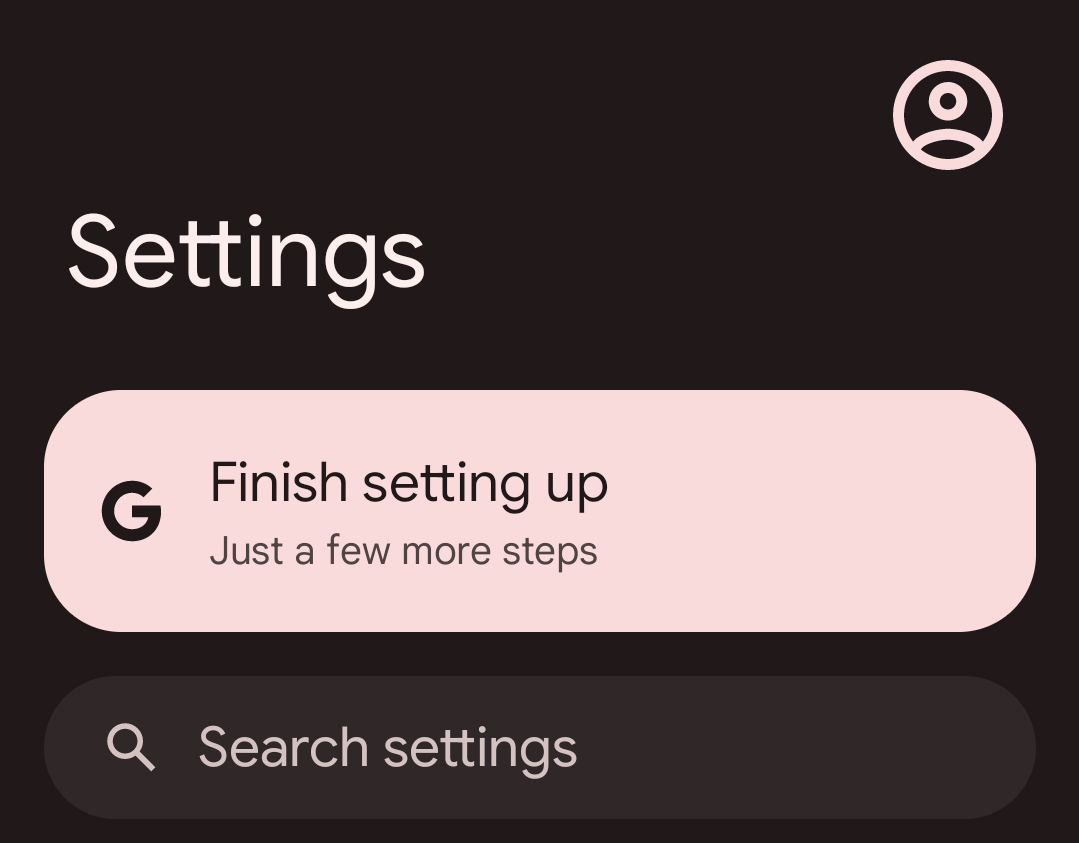
One of the annoying things is that there is a persistent reminder to 'Finish setup' in the notification bar and also whenever you open the Settings app. If you are setting up the phone for a child, or if you want to get rid of this reminder, then go ahead and activate it, and just reply with 'skip' or 'no thanks' to all questions.
Once all of that is done, your default Google Android system looks like this:
Disabling default apps
Our next step is to start disabling most of the default applications that come with a fresh Android install. I say most, as we will need the following a little bit longer, so do not disable these yet:
- Chrome
- Message
- Phone
Also, keep the Settings app, and if you ever end up in the System apps menu, don't disable Google Play Services, as this will lead to an endless loop of warning notifications, making the phone unusable.
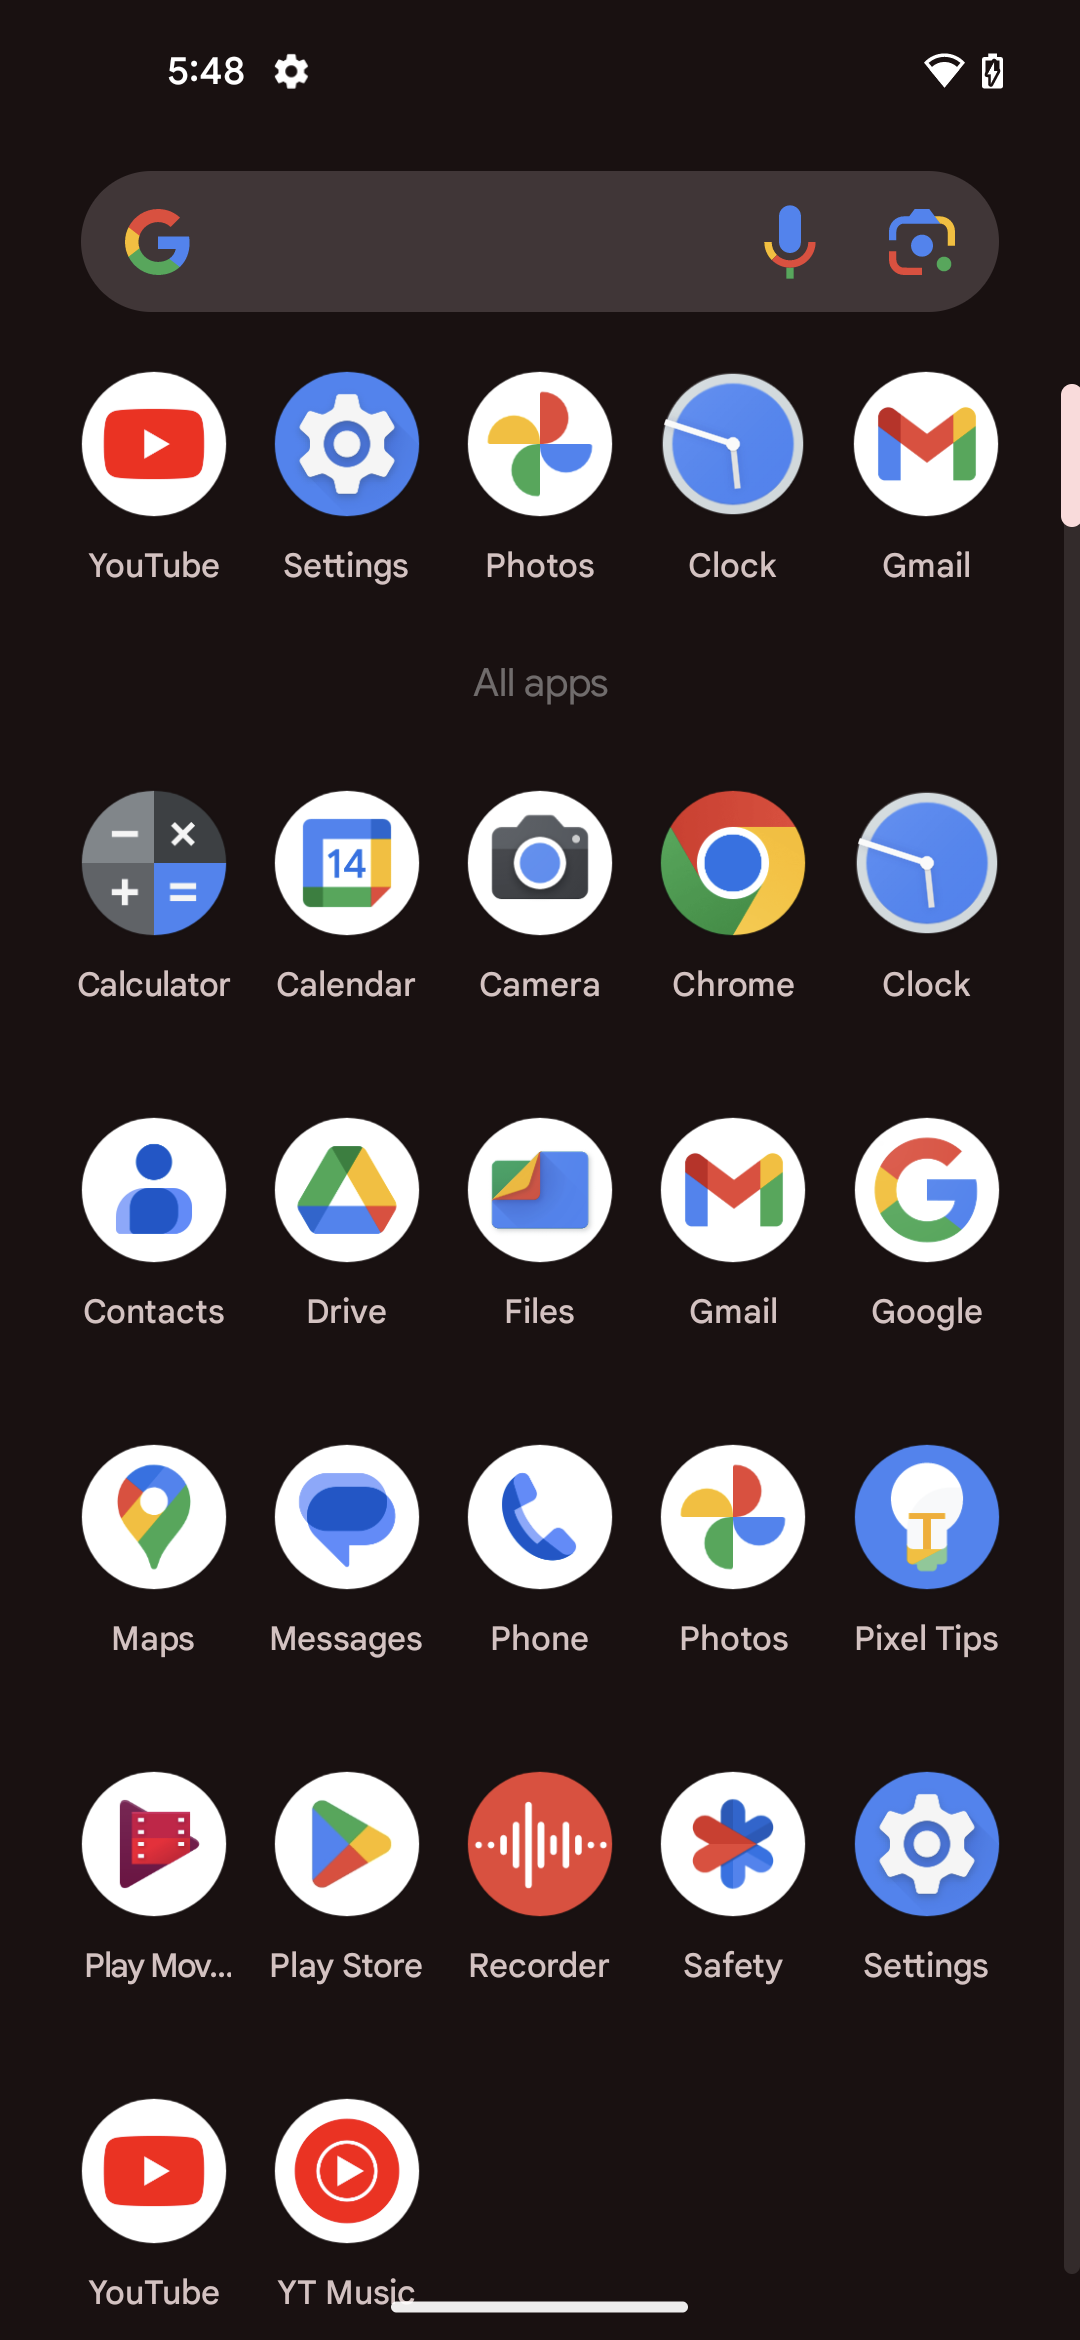
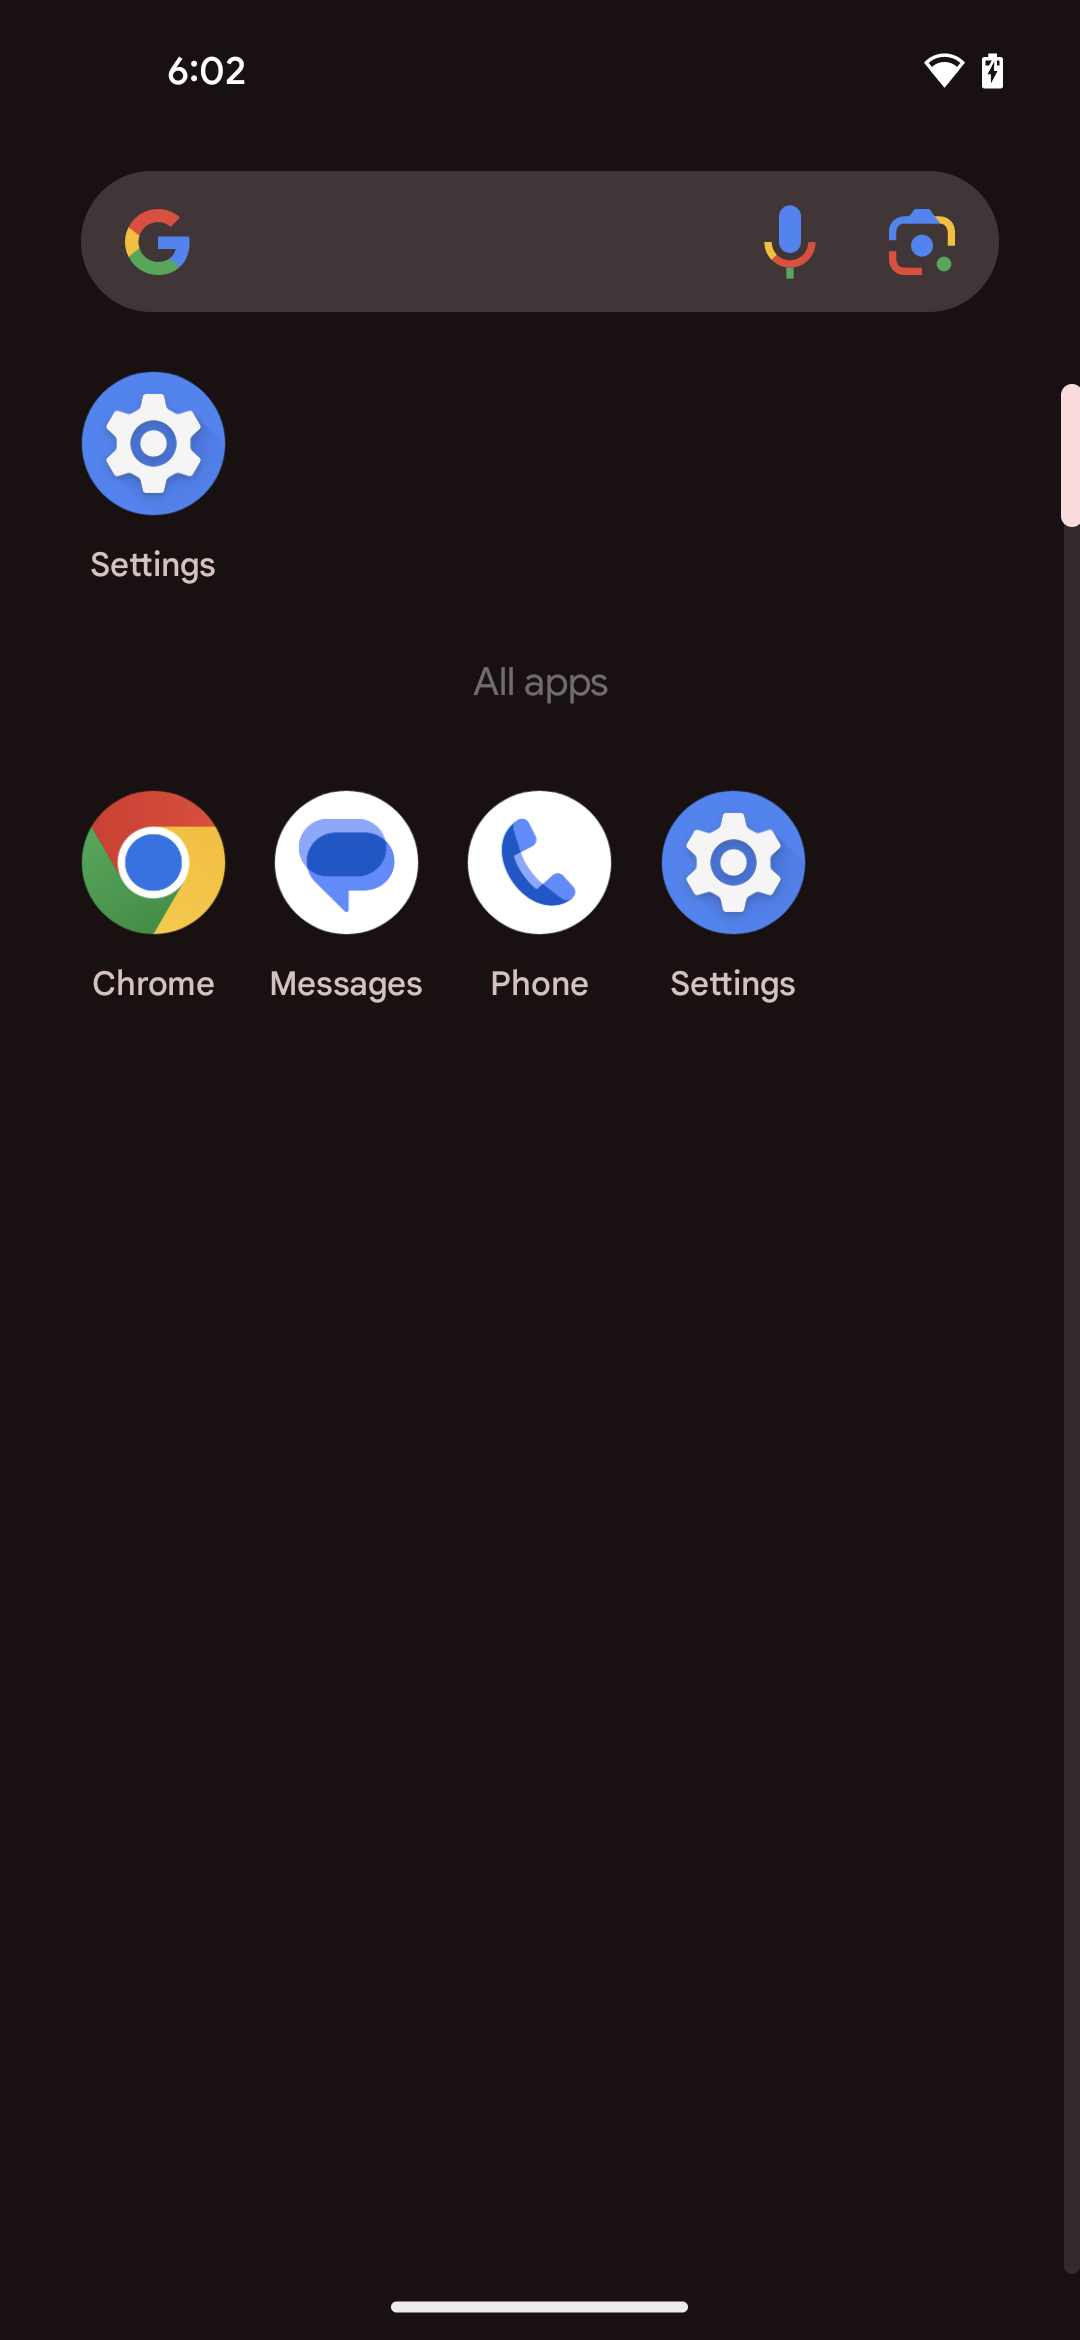
As a rule of thumb, I would disable apps via the Homescreen rather than via Apps in the settings menu. This avoids accidentally disabling apps required to keep the system running. To disable an app, long press on the icon and select App info. Most apps on the Android homescreen can be disabled in that menu. The app is still installed, but the icon will now disappear from the Homescreen, and it won't be used. Keep doing this until your Homescreen looks like this:
Depending on your Android version and phone brand, you might still see the annoying Google Launcher bar on the Homescreen. We'll get rid of that later.
Installing Play Store alternatives
Next, we need to download and install two alternative app stores: F-Droid and Aurora Store. This is what we need Chrome for.
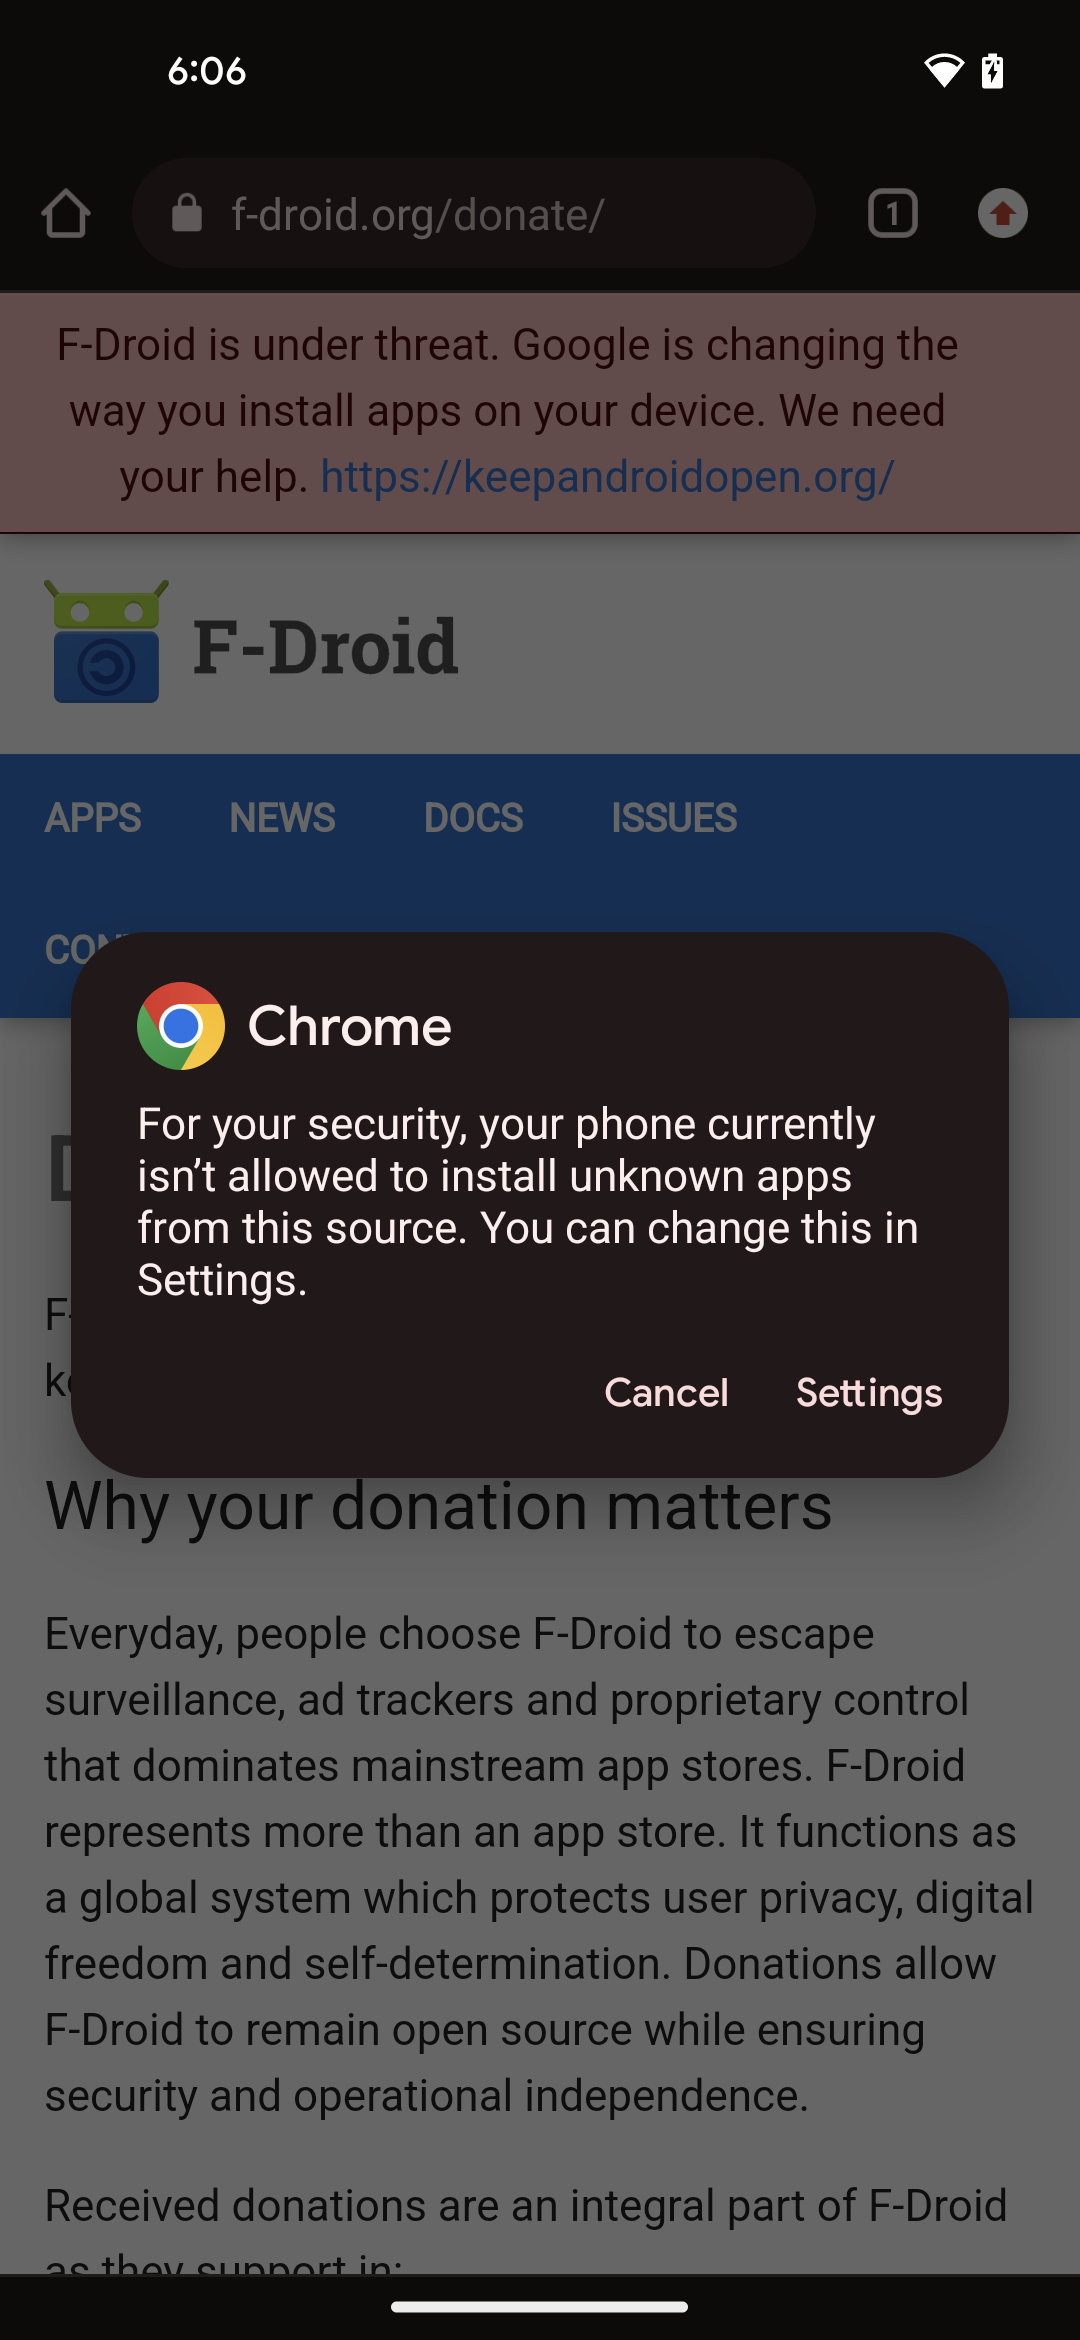
Open the Chrome browser, but don't sign in when prompted. Search for F-Droid (see link below) and download it. Sometimes an app is rerferred to as an APK, which stands for Android Package. You may be asked to give Chrome permission to download unknown third party apps - you can do so when prompted:
Open the file and give permissions to install unknown apps. You can now close Chrome and disable it the same way we disabled the other Google apps by long pressing on it and selecting App info.
When you first open F-Droid, it will not show any apps as the store needs a minute to update. Once the apps appear, use the search tool and look for Aurora; then download the Aurora Store and give F-Droid permission to do so when prompted.
When first opening Aurora Store, you'll be asked to give various permissions. Go ahead and do so and then log in anonymously.
You are now ready to begin installing applications.
Replacing default apps with Fossify
I usually look for apps in F-Droid first, and if I can't find a good solution there, I'll look in Aurora Store. The Aurora Store gives you anonymous access to all the apps on the Play Store. The reason you can't get to paid apps or subscriptions is because you are not logging in with your Gmail account; see the bottom of this article for an alternative approach.
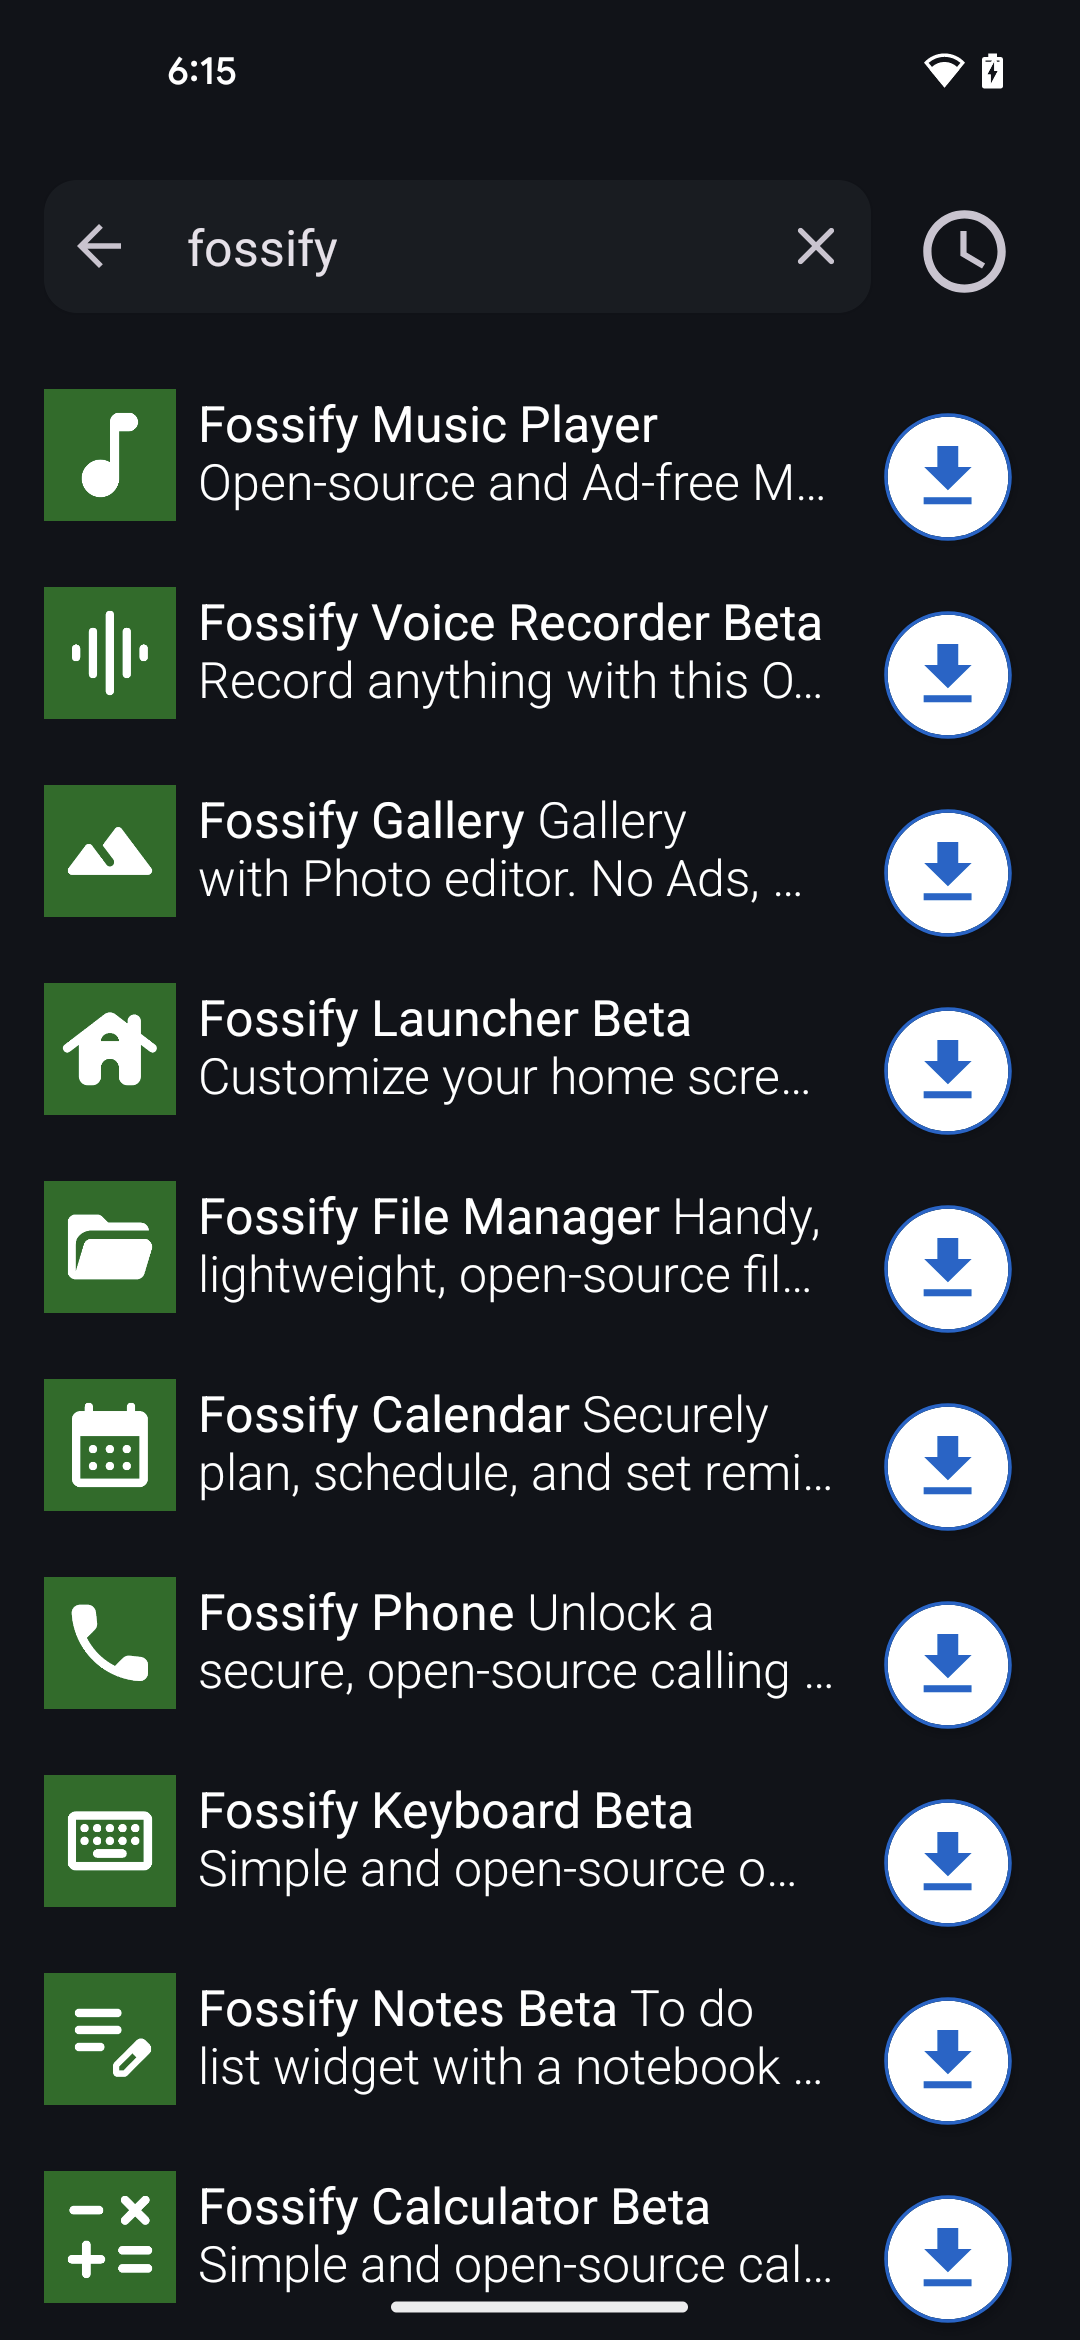
My first step is to search for Fossify and download all the apps listed:
Next, I long press anywhere on the Homescreen space and go to Home settings. Here, I turn off 'At a glance' by long pressing that, as well as Overview suggestions. I also go to Suggestions, then Blocked apps and add Android's Phone and Messages apps to the list, leaving the green Fossify ones off the list.
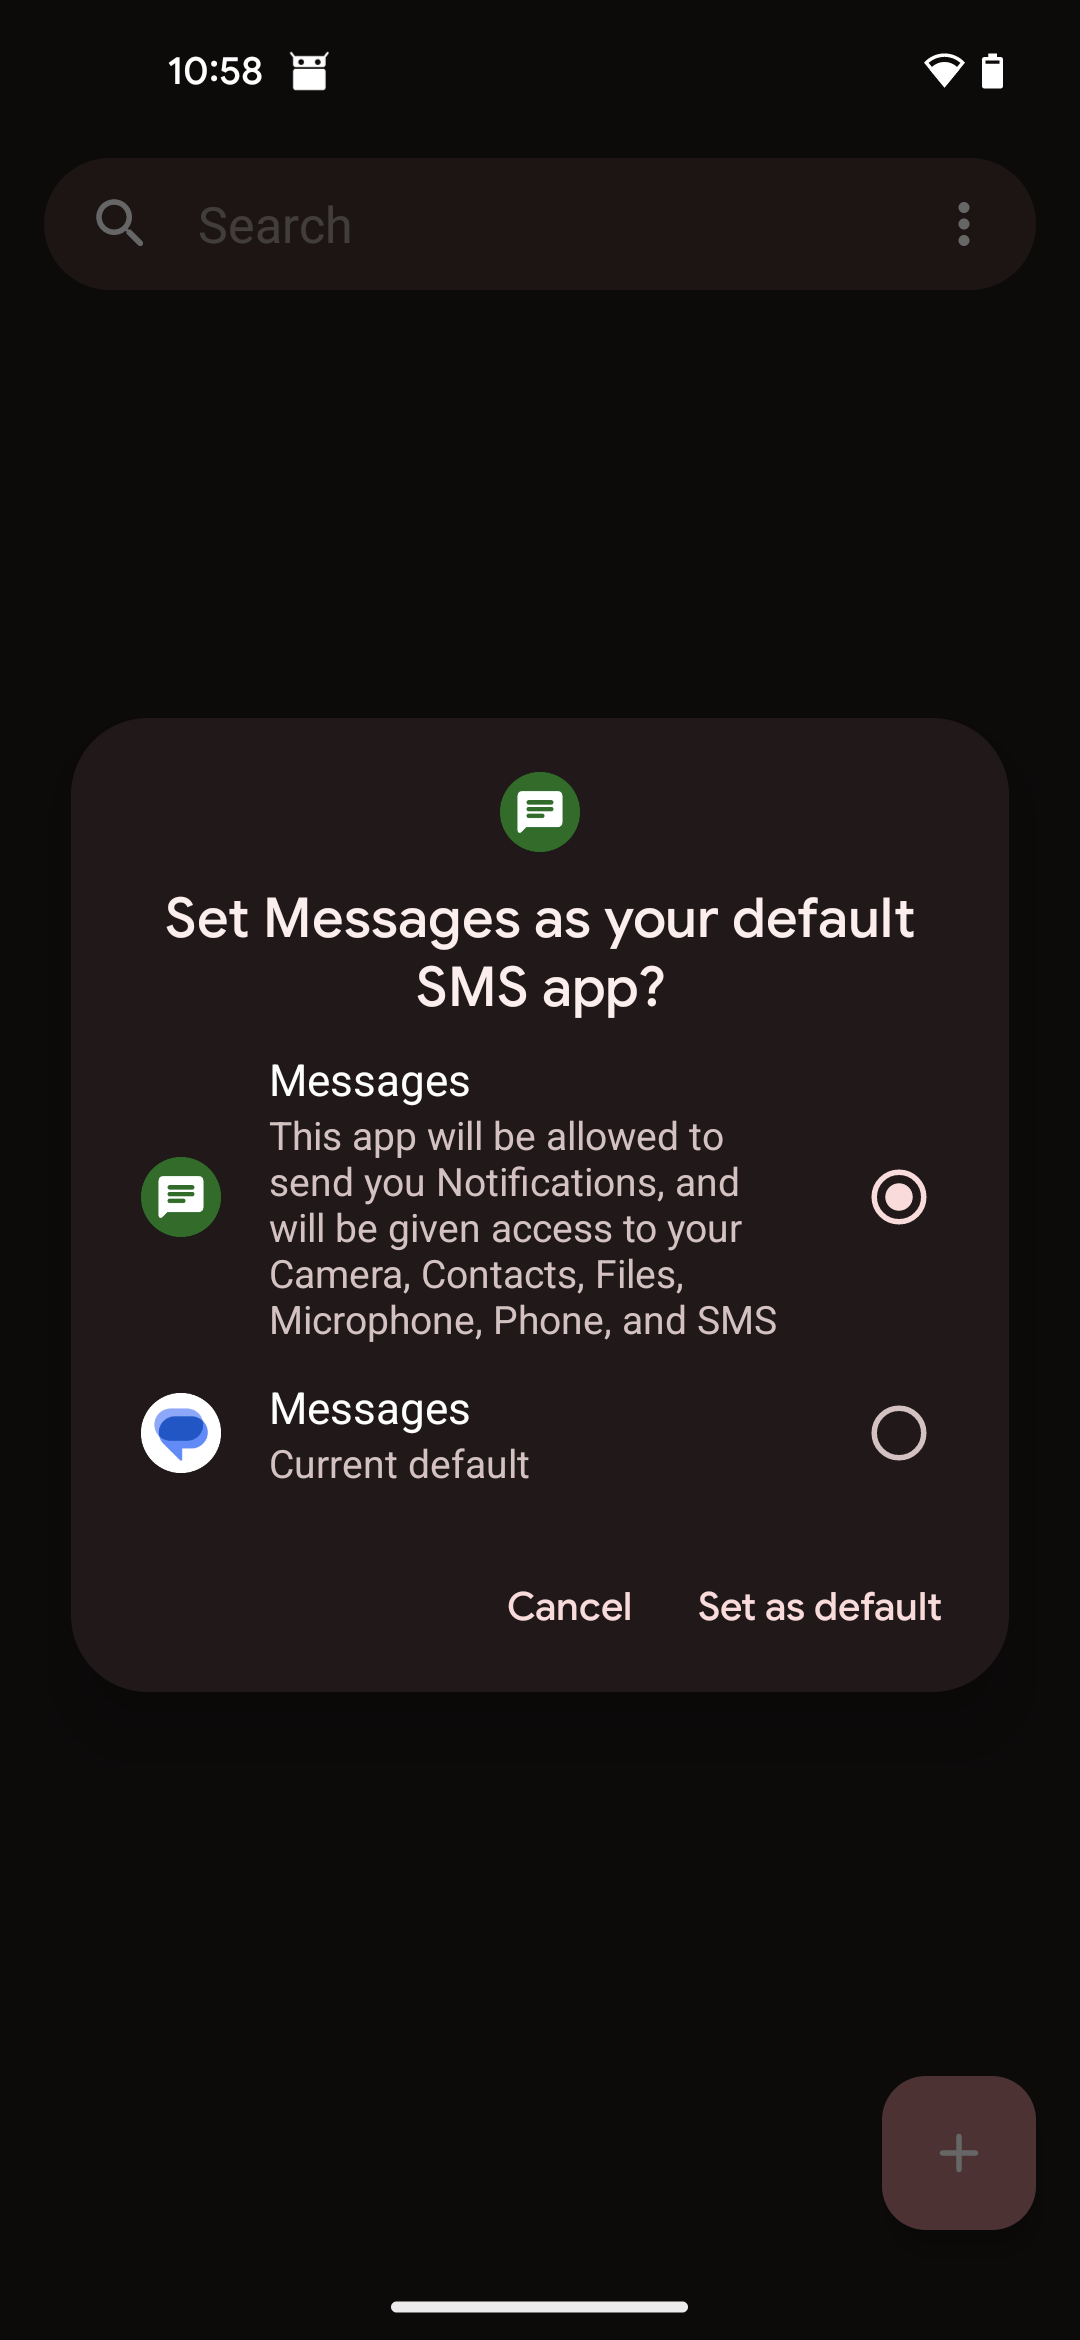
Next I start up Fossify's Phone and Messages apps by pressing the icon and making those the default system apps when prompted. I do the same with Fossify's keyboard app by enabling that and selecting it as the default keyboard app.
Next I click on Fossify's Launcher app and set that as the default. This will finally remove Google's pesky Launcher (at least on Pixel phones) that was persistently stuck on the Homescreen. Using Fossify's Launcher now also gives me the option to 'hide' application icons.
I now long press the Android Messages app and disable it, and long press the Phone app to hide it. Gboard (Google's keyboard app) can be disabled in Settings - Apps in Android 13, but not in higher versions.
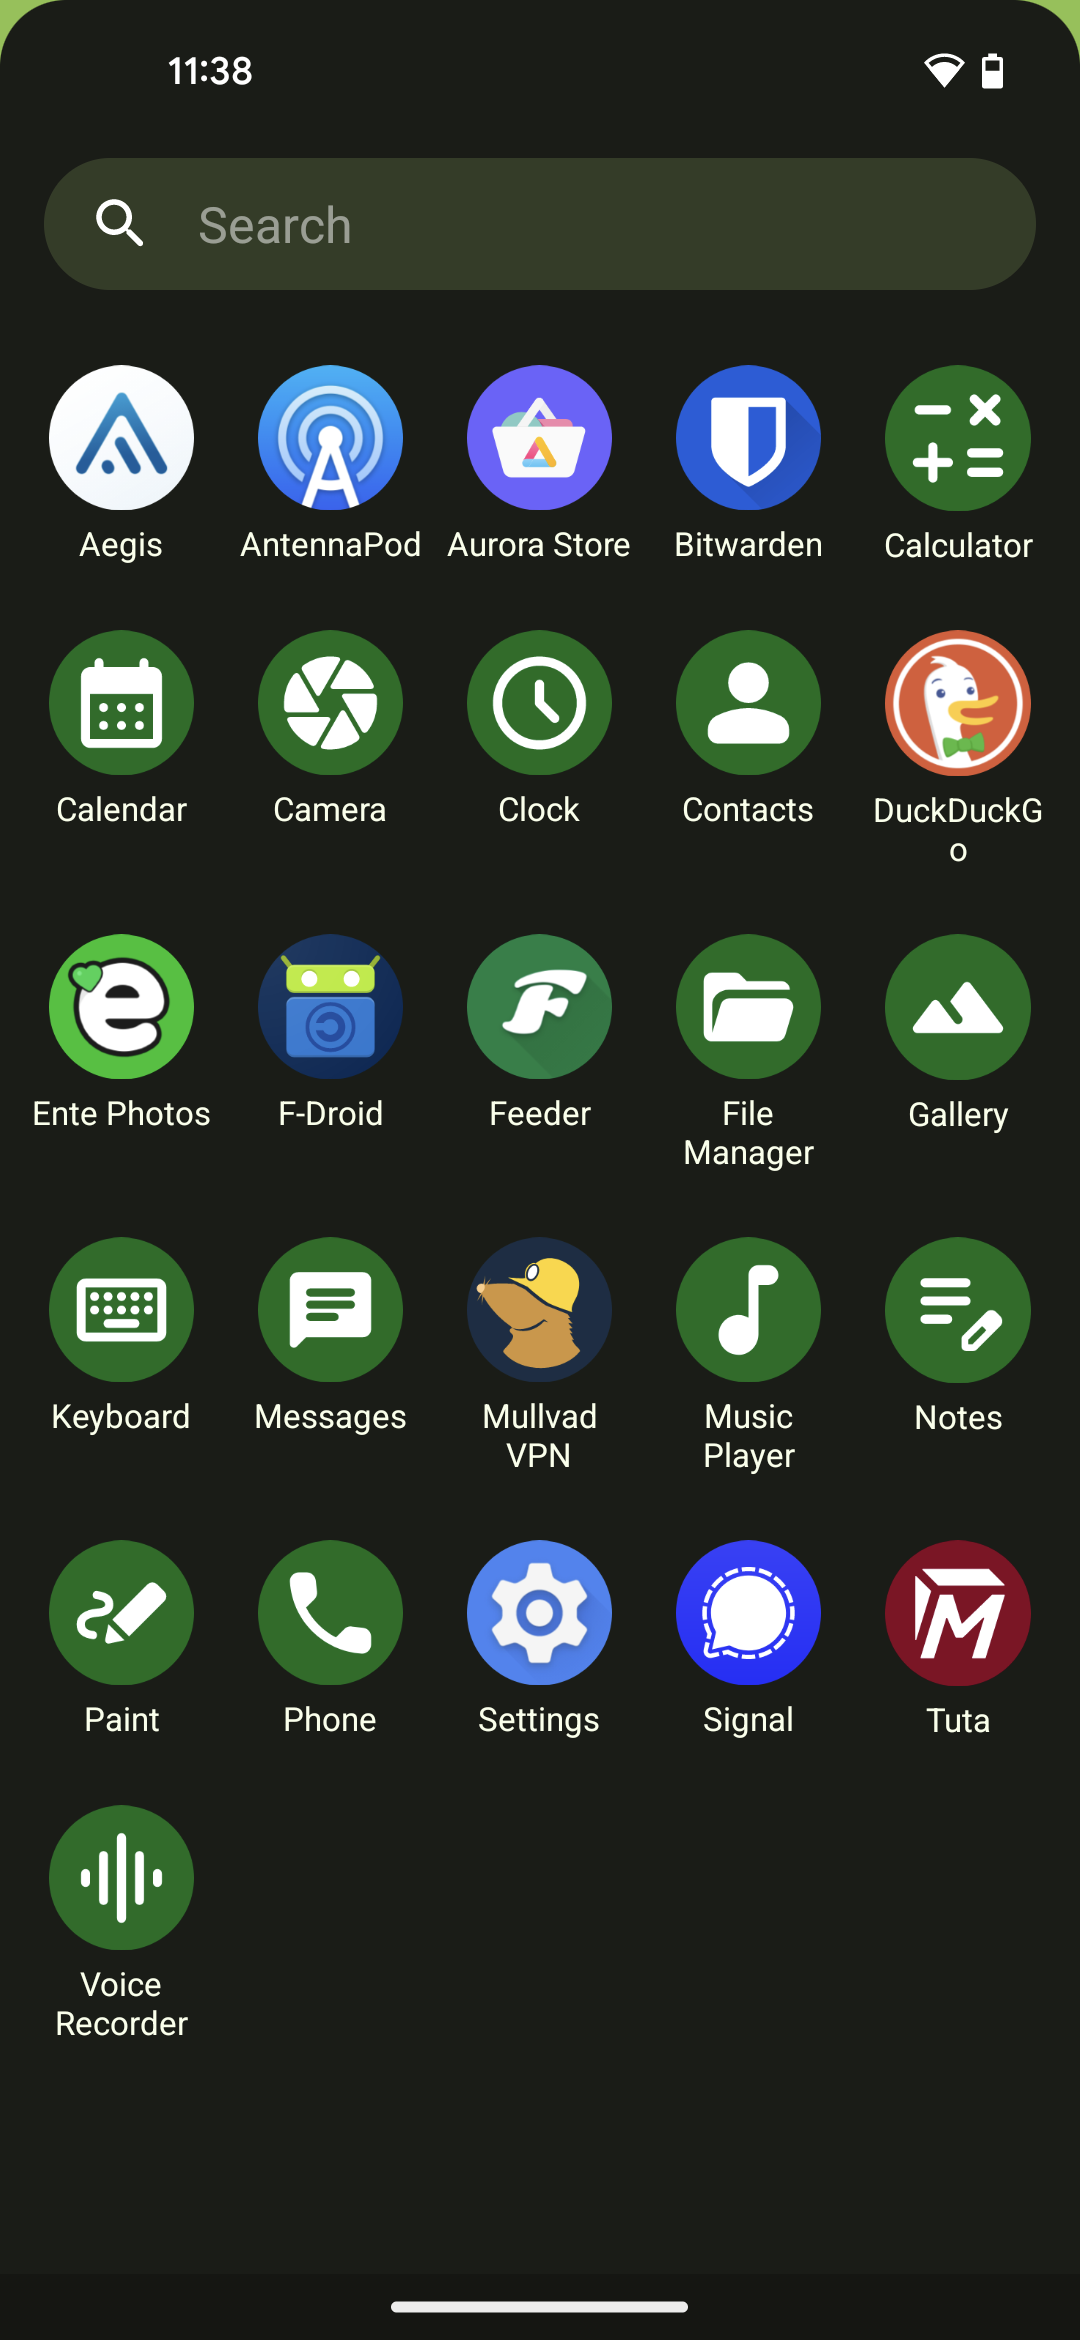
Lastly, I install what I need from F-Droid. For me, that is: Tuta Mail, Mullvad VPN, Feeder, Antennapod, DuckDuckgo browser, Ente Photos, Aegis Authenticator, Organic Maps, and, if you are an adult user, you might find things like KeePassDX, Nextcloud Synchronization client and Nextcloud notes useful as well.
From Aurora Store, I add Signal and Bitwarden, and an adult user might find apps like Cake Wallet handy. Banking and government ID apps will most likely not work in this environment. See below for a solution to that.
Changing the look
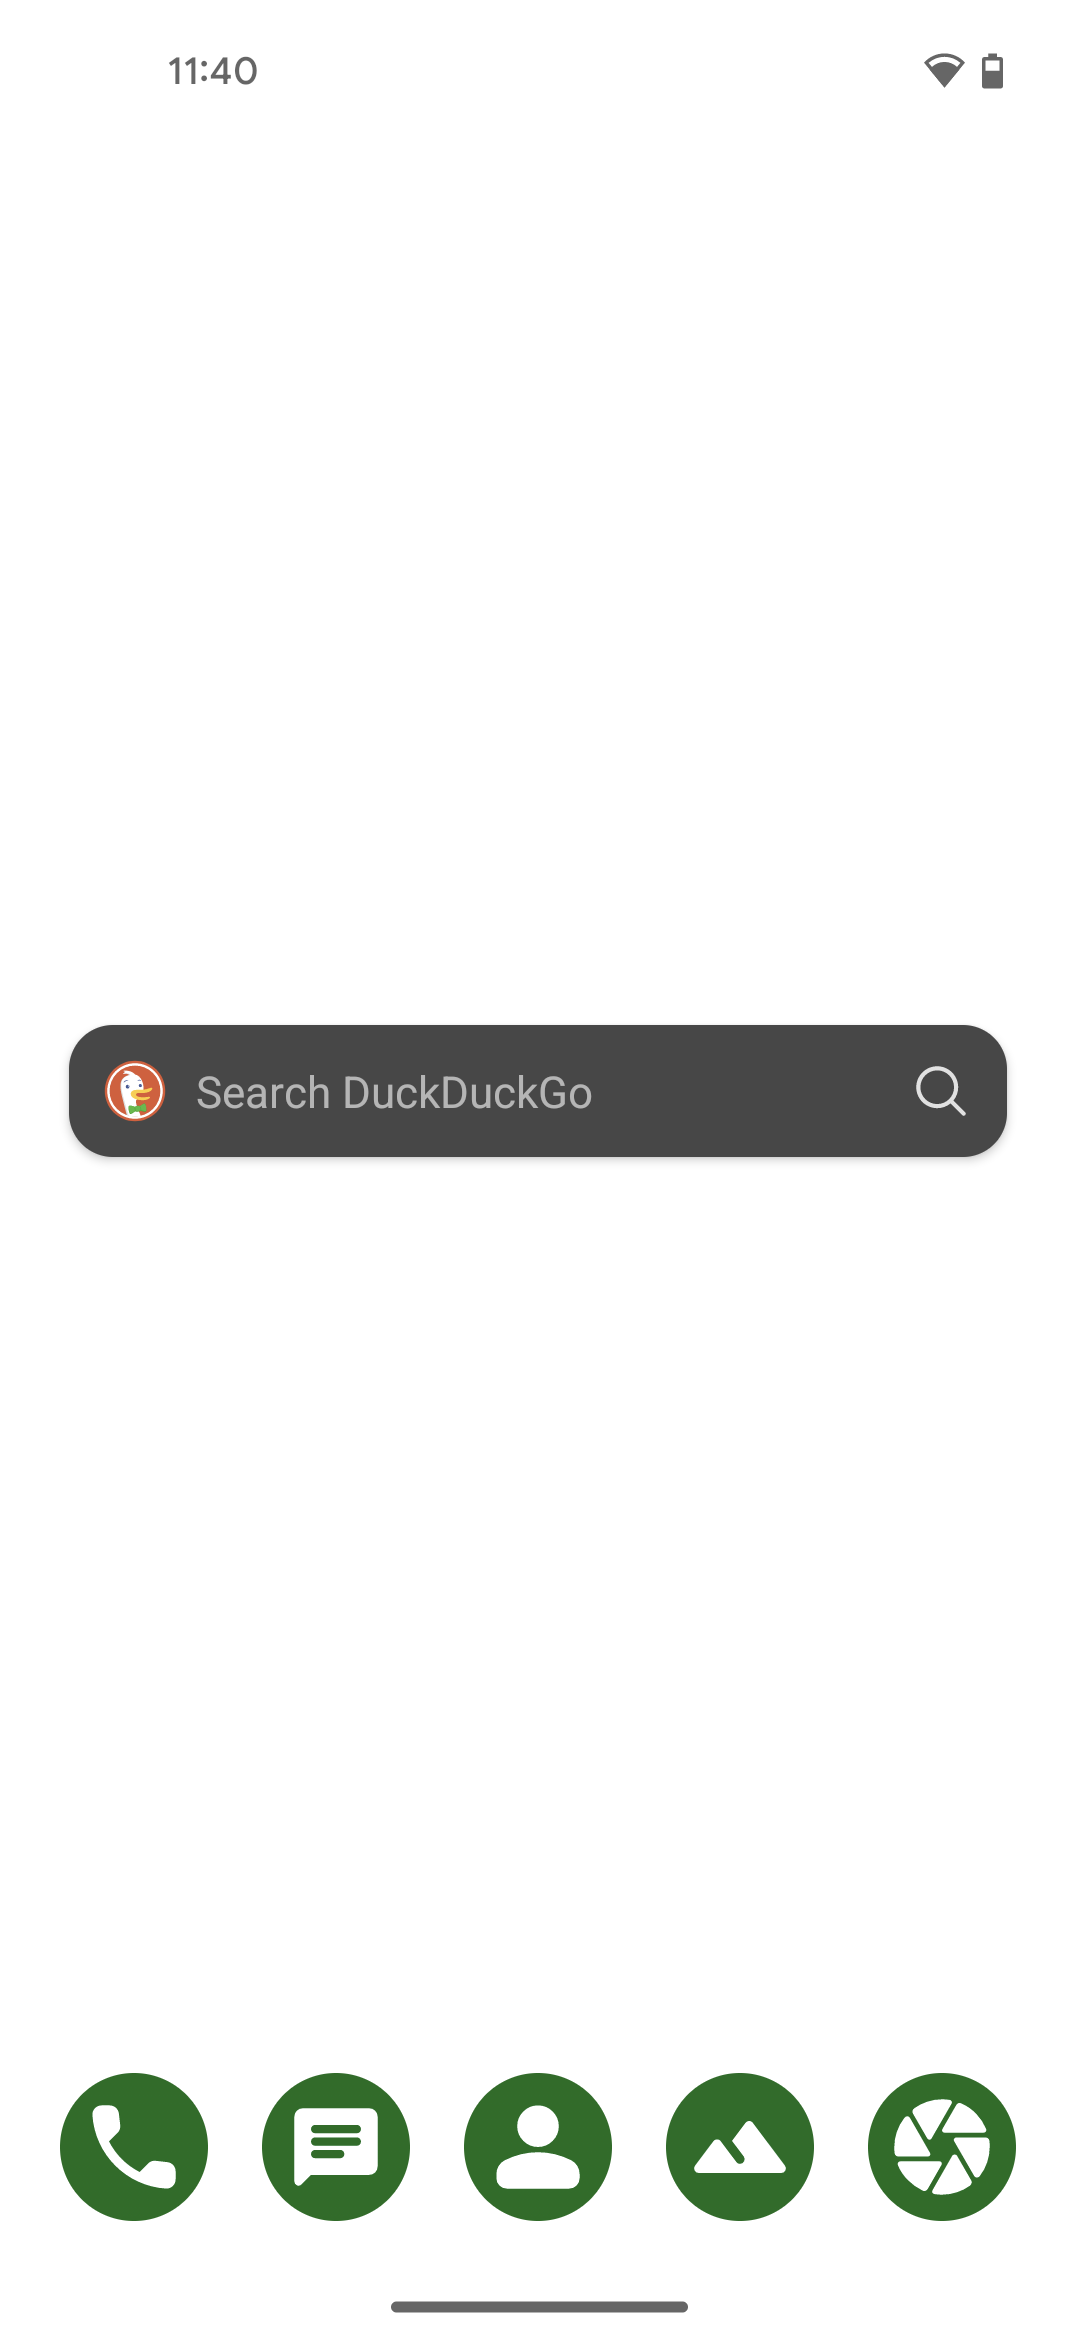
Lastly, when setting up this 'Google reduced' phone for one of my kids, I like to add the DuckDuckGo search widget to the Homescreen by long pressing anywhere on the Homescreen and searching for it in the widgets menu. I then organise the apps to my liking and add relevant shortcuts to the quick access menu, and remove or hide any remaining apps I don't need to see there.
The final result might look something like this:
What if I do need the Play Store?
If you or your child do need access to the Play Store in order to install banking or government ID applications, then one work-around is to create a second Android user. This does mean you or your child will have to know how to switch between users.
In order to set this up, you'll need to go to Settings - Apps, find Play Store in the list and re-enable it. Important here is that you don't sign in with your Gmail account on your main user profile, as otherwise you'll undo all the work we've done so far. But the Play Store app needs to be enabled in the main user profile in order for it to work properly for a second user on the same device.
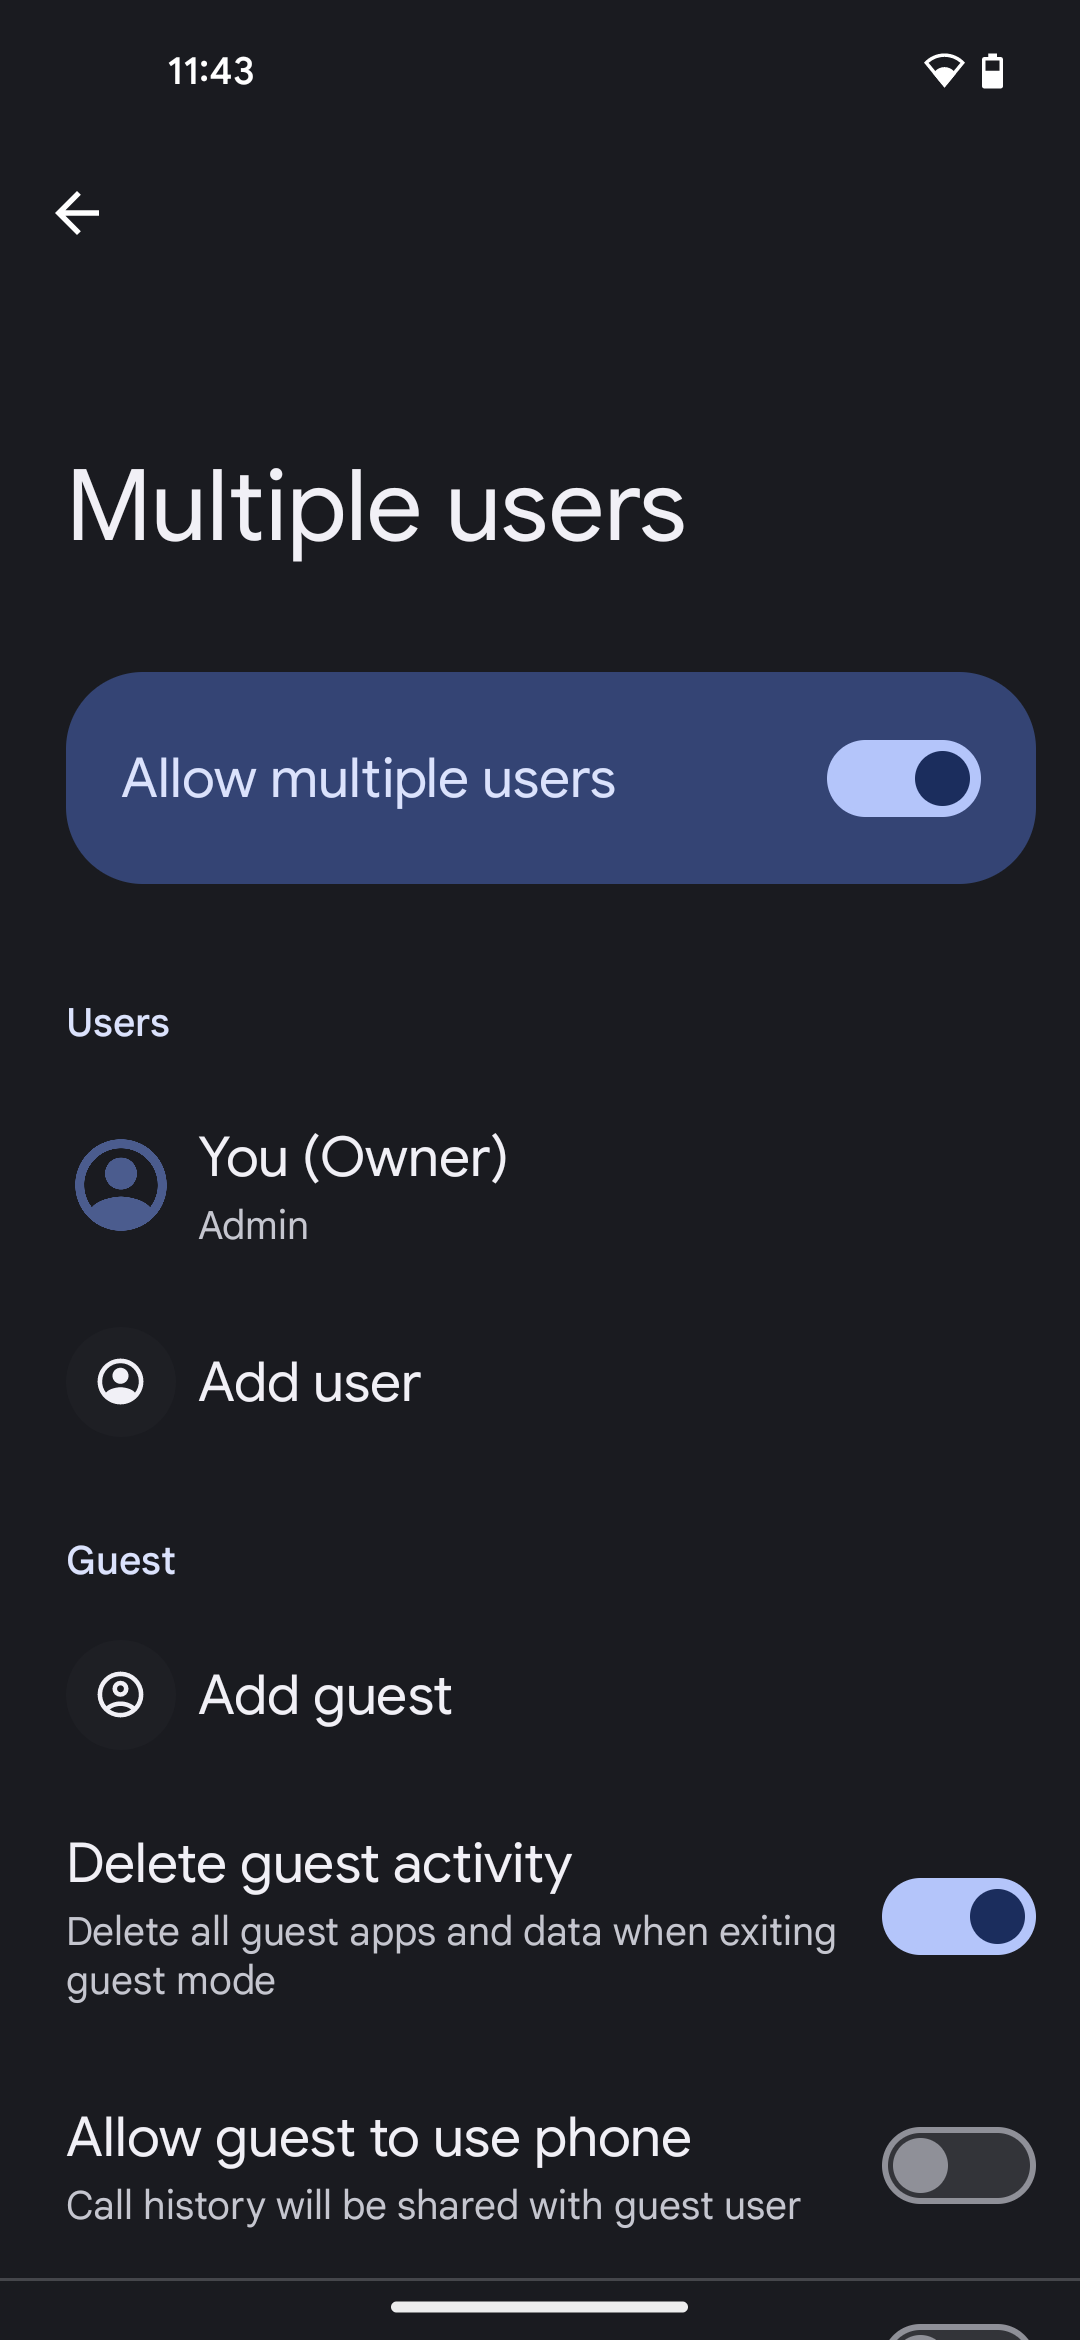
Next, go to Settings - Users and allow multiple users. Create a new user and give it a name (Google, or Play Store or something like that). Switch to this user, and go through the whole initial setup procedure described at the top of this article again, but don't sign in to anything.
In order to sign into Play Store on the second user profile, I just create a dummy family Gmail account on another device. Once that is set up, I open Play Store and log in with that account. When prompted with further questions I continue with the 'toggle off'/skip/no thanks approach.
With this approach, I am able to download and install a banking app successfully on the second user profile.
You might wonder why I set up a second user profile at all, and don't just use Play Store on the main user profile. I did try that, and found that the Android environment quickly catches on to the fact I'm signing in with a Gmail account, and will add this to the main system, undoing all my previous efforts to avoid this very thing. So a second user account is a cleaner solution for me. I also don't use that Gmail account for anything personal on other devices.
You can switch between users easily by pulling down once from the top of the screen to see the usual notifications bar, and then pulling down again on that. This will bring up three small icons in the bottom right of your screen, one of which lets you switch between profiles.2
Finally, you can go back to the main user, long press on the Play Store icon there and select 'Hide' to discourage its use.
Running two user profiles in this way does tend to increase battery consumption. Thus far, my kids have gotten by fine with a single user and accessing their bank accounts on a computer.
Wrapping up
As pointed out in the introduction, this is in no way a 'de-Googled' phone. However, with this setup, you will definitely reduce the breadth of information you are sending to Google.
Having gone through these steps several times now has really opened my eyes to just how pernicious the default Google Android system is: by signing in with your Gmail account during initial setup, you are also signing in to all the Google apps that are installed by default (see screenshot at the top of this post), thus sending your photos, your search history, your mails, your files, your messages, your contacts and your location back to Google, which builds up a comprehensive profile of your activities online and in real life, all tied to a Gmail account that you may be using elsewhere on your other devices too! That is a lot of personal information to give away.
Replacing the default Google apps with open source alternatives is an attempt to curb the collection of all this personal information for monetary ends. More technical readers will know how much personal data is still being shared, despite these changes.
Seen from another perspective, this approach could help introduce a child to open source alternatives to Big Tech. One of the things that annoys me most about Google in our lives is that it seems to be offered as the default on our devices (even school Chromebooks) with most not asking critical questions. Thus, children grow up accepting the Google-sphere as the norm, when it really should not be seen that way.
The Fossify replacement apps are all excellent and work just as well as the preinstalled Android versions. With some of these, like the clock and calculator apps, I am possibly being overly cautious by replacing those with their Fossify counterpart; however, I like the consistent look of the Fossify set and it can't do any harm to just replace everything.3
Finally, setting up a phone like this for a child will enable you as parent or guardian to decide which specific privacy-invasive apps you do allow on the device. This is a give-and-take conversation that will evolve as kids get older. In my own experience, being unrelenting and hard-line about privacy can have the opposite effect and turn your kids off of the idea of open source alternatives. I do, for example, let my kids use WhatsApp on their devices (alongside Signal) for social reasons, but draw the line at Instagram and TikTok.
If Play Store is required for specific apps (paid for apps, identity apps, banking apps) then I recommend setting up the Play Store on a second user with a dummy Gmail account that you know the password to, and hiding the Play Store on the main user profile after that.
F-Droid under threat
When you visit F-Droid's website, you'll see a pinkish banner at the top that says:
F-Droid is under threat. Google is changing the way you install apps on your device. We need your help. https://keepandroidopen.org/
If you like using F-Droid, I recommend visiting that page to find out more.
Updates
On Privacy Guides, someone responded to my decision to leave the location toggle to ON on initial setup with the following comment: "this toggle is totally misleading, it seems to allow Google to access your location without extra consent. It isn’t necessary for apps to use the location."
(9 June 2026) - One reader reported that some apps downloaded from Aurora using the method above have stopped working. The user gets a warning about Google Play not being enabled or requiring updating when starting up the app.
Documentation
Using Android Without a Google Account (my 2024 article)
Android version history on Wikipedia
Comparison of Android-based Operating Systems - Eylenburg
-----Discuss on Mastodon----- Subscribe to my blog via RSS or email:
Find me on Mastodon.
Previous | Next | back to Blog
I have gone through these steps on both Android 13 and 14. I don't have experience going through them on Android 15 and above. It is possible to do a clean install on your mobile device of previous versions of Android with this tool. While that goes beyond the scope of this article, I found it not too difficult to do.↩
Activity Launcher on F-Droid lets you create shortcuts between multiple users on each user's Homescreen.↩
I was surprised during the preparation for this article to see indications that even the default Messages and File manager apps are designed to connect to my Gmail account.)↩